How To Search a Former Homestead Site Located in Hard-To-Get-To Area, page 8
Locations of "Hot" Metal Detecting Spots at "Searched Out" Hunt Sites
Secret 'Scan Deeper Layers' Search Technique for Detecting Deepest (Oldest) Coins
In my experiences with metal detecting around the cellar holes, I discovered the "hot" coin spots at the following locations:
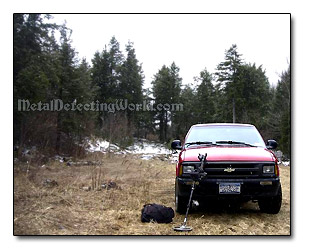
A) A spot on the roadside where metal detectorists usually park their cars right in front of the homestead
Many times I have seen the same picture upon arrival with my buddies to the metal detecting site: everyone gets out of car, grabs a metal detector and runs straight to the cellar hole.
As a result of such a "rush", the immediate area where the car was parked was left undetected. At the end of a long metal detecting day, everybody was too exhausted to search near and around the car. At one location, I unearthed two Hard Times tokens and four Large Cents at such a spot!
As a rule, one should park one's car away from the hunt site and detect the entire segment of the road adjacent to the former homestead grounds.
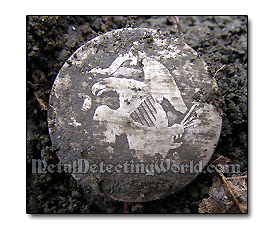
B) A spot with the highest concentration of iron square nails and larger iron targets
At this spot, the threshold of most non-silent-mode detectors operated with ample Discrimination rejecting most iron would be just constantly "nulling" (becoming silent at the moment of passing over a rejected iron square nail).
And, with such Discrimination setting, detectorists would still hear many coin-like signals produced by large iron targets (because of the Halo Effect developed around them, which exhibits itself as a Wrap Around Effect on a Smartfind screen of the Minelab FBS metal detectors).
After digging a few holes, finding only iron junk, and getting annoyed with it, most metaldetectorists usually step away from such a troublesome spot without further investigation. The "goodies" buried under a dense layer of iron targets - "iron blanket", would remain in the ground until the more experienced treasure hunter gets to the spot. And if the "Scan Deeper Layers" search technique (described below) is used, the spot will likely turn into "super hot" one.
When I began focusing on the "searched out" sites back in 2009, I came to an interesting realization: in the ground, there is at least the same amount of coins masked by the iron nails as the amount of superficial coins that were easily detected. An example of this concept is given in my report on field-testing a metal detector I used back then - Minelab E-Trac: Minelab E-Trac Field Test.
I only wish I realized this much earlier, back in the 1990s, when I had so many great coin shooting sites - almost "virgin" cellar holes in the Upstate New York, to search that I did not bother to search them beyond superficial metal detecting! I could probably double the amount of my coin finds back then! (Not that I wish to create a second wave of "cellar hole rush" that can take place after many people read this article. But if you suddenly find yourself in the middle of a spontaneous Competition Hunt at your hunt site, do not be surprised! :)
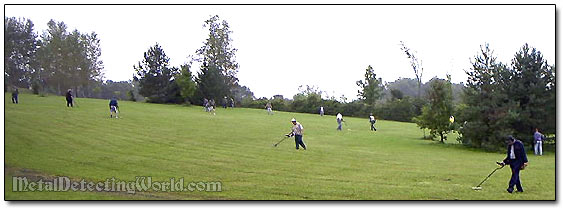
And never forget that the "hunted out" or "hammered" or "pounded" site is only the site at which your metal detector does not "null" even when it is operated in All Metal mode! A metal detector operated in All Metal mode may go "blank" (null) over a "hot" rock (you might want to read my article on Hot Rocks).

"Scan Deeper Layers" Search Technique
This technique is successfully used by treasure hunters in Eastern Europe but requires lots of patience and physical effort. The technique is based on a simple idea: to get to the coins and artifacts lying below the metal detector's operating detection depth range that equals, for example, to 12 inches (with an 11-inch search coil used), one has to remove upper 12 inches of soil, and scan the next 12-inch layer.
This technique brings great results especially at the above-mentioned "iron blanket" spots as many coins can not be "unmasked" through the "iron blankets" even with high Reactivity settings. As these "blankets" substantially diminish the detector's operating depth range anyway, the removed layers of soil actually are much thinner than 12 inches. To get to the oldest (deepest) coins and artifacts, a treasure hunter removes as many layers of soil as necessary.
This technique also works great at the known "hot" coin spots at any hunt site. At one location with a very old cellar hole in Rensselaer county, NY, after I discovered such a spot, measuring 2 yards x 2 yards, I unearthed 38 coins from various depths (layers)! First five coins that came out of the upper soil layer were "Buffalo" and "V" nickels along with "Mercury" and "Barber" dimes. From the deepest layer, came up a "Piece of Eight" (8 Reales coin) and some of the early coins shown on page 3 of this article.

C) Hard-to-detect spots such as bushes, the grounds under fallen trees and branches and areas overgrown with dense vegetation
It has been proven many times that these spots would turn out to be "fruitful" for a few persistent detectorists after many others simply avoided the obstacles.
Do not hesitate to move the branches and search the new "clearings". In case of the heavily overgrown spots, get down on your four and crawl while detecting your way through. You might be grandly rewarded!
D) Low and wet areas at the former homestead site
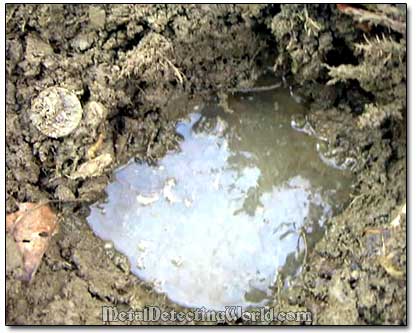
The same as above, including "getting down on your four" under dense underbrush, applies here as well. I usually leave these spots for the last because if my knees get wet during the search, especially when recovering targets from the holes that are quickly getting filled up with water, it would not be a biggy at the end of my treasure hunting day.
